What Happens if You Install Brain Age Again on a Haxchi System
This guide volition walk you through all the steps needed to mod your Wii U. We will exist going from a stock Wii U to a fully modded console.
**UPDATE: This guide is confirmed to work with the latest Wii U firmware version 5.v.five**
This guide has been updated to apply Tiramisu and no longer requires the purchase of a DS championship.
If you have Coldboot Haxchi installed, please uninstall it using this guide starting time.
Why should y'all softmod your Wii U?
Modding your Wii U offers you a whole range of benefits including: –
Homebrew & Emulators
Game backups helping to keep your discs safe & the ability to dorsum up your own games straight to your console or hard bulldoze using Disc2app.
Virtual Panel support, you can play your Wii & Wii U Virtual Console games in HD, including the ability to play games currently not bachelor on the Wii or Wii U.
The ability to make your Wii U play games from any region including Japanese exclusive games.
The power to play your GameCube & Wii Back-ups.
The power to apply custom patches and mods to electric current games you own.
The ability to use third-political party controllers with your Wii U, including the Nintendo Switch Pro Controller.
*DISCLAIMER Most BRICKING*
Please be aware that although the run a risk is incredibly minor, as with all modification of organization software in that location is a run a risk yous could end upward bricking your panel! Make certain to always read all prompts with care and do make backups where possible!
What do y'all need to softmod the Wii U?
A Wii U running Firmware 5.5.0 and above including the new version 5.5.5 (If your Wii U'southward firmware is lower delight update before proceeding.)
An SD card, ideally 16gb or 32gb (Micro SD to full SD adapters work fine!)
An external Hard bulldoze or suitably large USB thumb drive. This is where we will be installing all our games files etc so the bigger the better. Personally, I use a Maxtor 1TB HDD and I still have a ton of space. Another option would exist to selection up a WD elements 1TB HDD, I would go with any is cheaper!
A 'Y-USB cablevision', This volition be needed if y'all are using an HDD. The Wii U's USB ports do not provide a lot of power. The Y cable volition allow you to become ability from both USB ports at the back of the Wii U. A USB pollex drive has no moving parts and doesn't need as much power, and then you lot won't demand an additional cable if using 1.
A method to transfer files to SD, ideally a PC, but I approximate you could use a MAC or Android device likewise.
How to modern your Wii U - Method
The first affair I would recommend is blocking any hereafter updates to your Wii U.
Nintendo can send an update automatically to your Wii U over the internet, this could patch the exploit we are about to install. There's no 'Plow off automatic updates selection' from the system settings so we will need to modify our DNS settings. This is very easy to do: –
Go to 'arrangement settings' – 'Internet' – 'Connect to the Internet' and press X to show your network connections. For each connection you use you volition desire to: –
Tap the connectedness – 'Change settings'
Motion across to detect the 'DNS' push button – Change this to 'Don't Motorcar-Obtain'
For the DNS IPs enter: –
Main: 168.235.092.108
Secondary: 081.004.127.020
Ostend and save and all updates volition now be blocked!
Now, we need to format the SD menu. We need to make certain the SD carte is formatted as FAT32 with an Allotment Unit Size of 32K. The easiest way to do this is to use a free formatting software like guiformat. You can download it hither. (Make certain you select the right drive to format!)
Once formatted, create a binder called 'install' and 1 called 'wiiu' on the root of your SD card. Head over to https://tiramisu.foryour.cafe/ and click download.

Excerpt the .zip file to the root of your formatted SD card and then download the sigpatches.rpx from here.
Extract the 01_sigpatches.rpx file from the .nada file. Move this file to post-obit location on the SD card:
/wiiu/environments/tiramisu/modules/setup
Download the latest version of WUP Installer GX2. You will be using this program a lot to install homebrew and games. Extract this .Zip file to the root of your SD.
Inside the 'install' binder on your SD make a new folder called 'hbc'. Download the homebrew_launcher_channel.v2.1.zip https://github.com/dimok789/homebrew_launcher/releases/tag/v2.ane. Extract and copy all the files inside into the newly created 'hbc' folder. This will allow us to install the Homebrew Channel.
Finally, Download Wii U NAND Dumper. This will allow you to make a support of your NAND and may aid you recover from a bricked system. It's ever good practice to make a backup! Extract the contents to your SD carte.
Eject the SD card and insert it into the Wii U. Starting time up your Wii U every bit normal and open the internet browser. You need to enter the following URL:
wiiuexploit.xyz
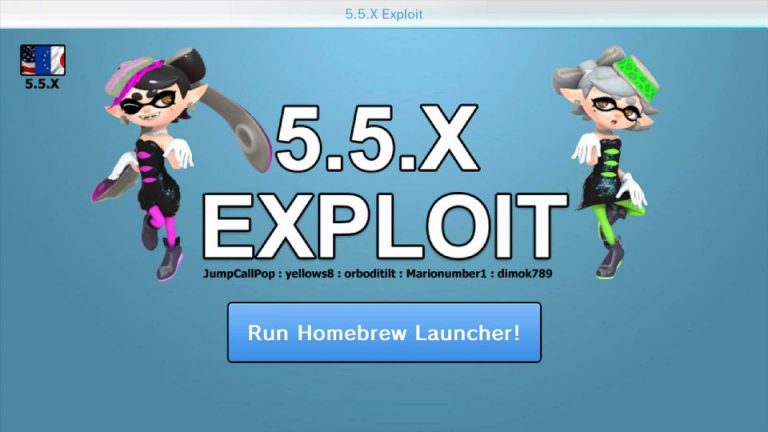
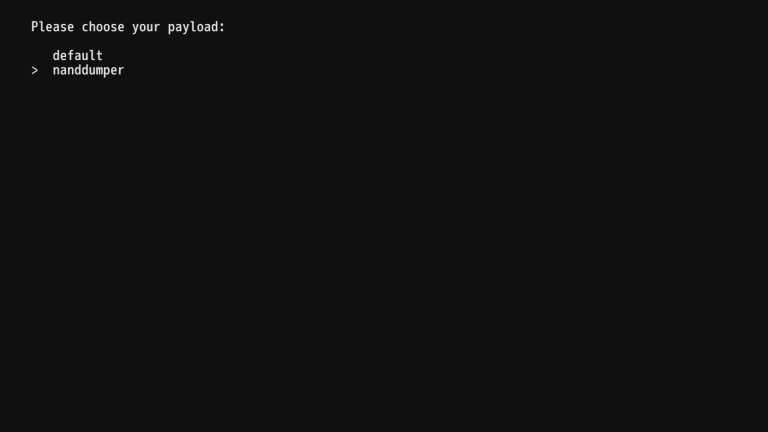
Click 'Run Homebrew Launcher!' button while holding the 'B' push and await around 20 seconds. You should now be menu where you tin can choose default loading or the option for a NAND dumper. Cull the NAND Dumper and press 'A' to keep. If the system freezes while loading this menu y'all can hard reset by holding down the ability button for 10 seconds and attempt once again.
How to backup up your Wii U'southward NAND
Now that we are within the Nand Dumper it's time to back up your Wii U's NAND. This will help you lot restore your console to stock settings if anything goes incorrect.
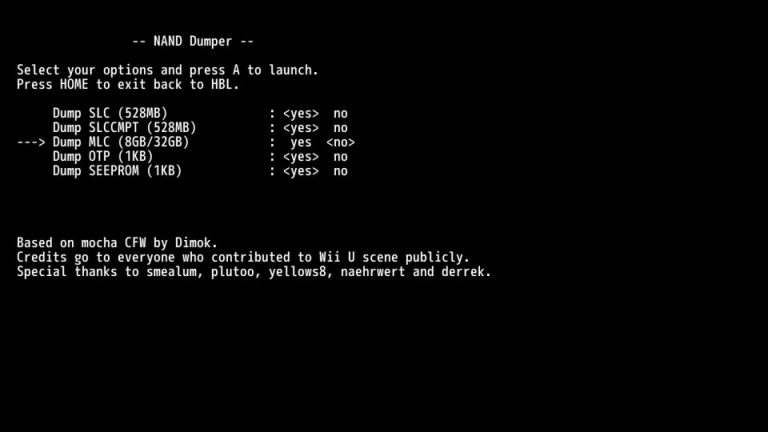
Select everything as <Yep> as well 'Dump MLC (8GB/32GB). Personally, I wouldn't bother with this but information technology's upward to yous. Dumping the MLC is optional and will make a complete dorsum up of your Wii U'due south electric current memory. If y'all are modding a standard 8gb Wii U (White) you lot will demand a memory card at least double the size of the dump. And then, a 16GB for a white model and a 64GB for the 32GB blackness model. If you lot practice decide to make a full dorsum up, then exist prepared to await as this will accept hours.
Press A to start the back-up and expect for the system to reboot. This could take some time. Once the Wii U reboots plow the panel off and remove the SD card. On the root of your SD card, yous volition now find the files 'otp.bin', 'slc.bin','slccmpt.bin', & 'seeprom.bin' (If you backed up your MLC y'all volition have numerous MLC files besides) copy these over to your PC and keep them safe. You can use these to help you recover data if annihilation goes wrong and they are unique to each Wii U so do NOT lose them. Once backed upwardly y'all tin simply delete the files created to costless up more infinite on your SD bill of fare.
Plug your SD carte du jour back in your Wii U and load up the net browser and caput back to wiiuexploit.xyz and click Run Homebrew Launcher, this time in that location's no need to concur down the 'B' push.
This volition boot you lot to the Tiramasu environment loader:

Press A on installer and so press A once over again on bank check.
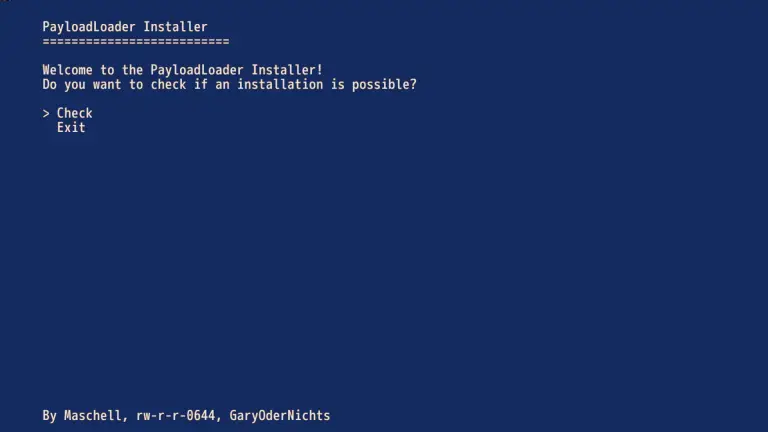
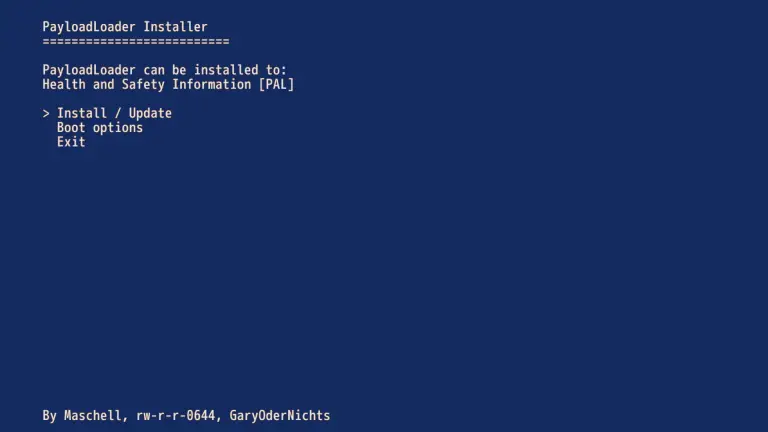
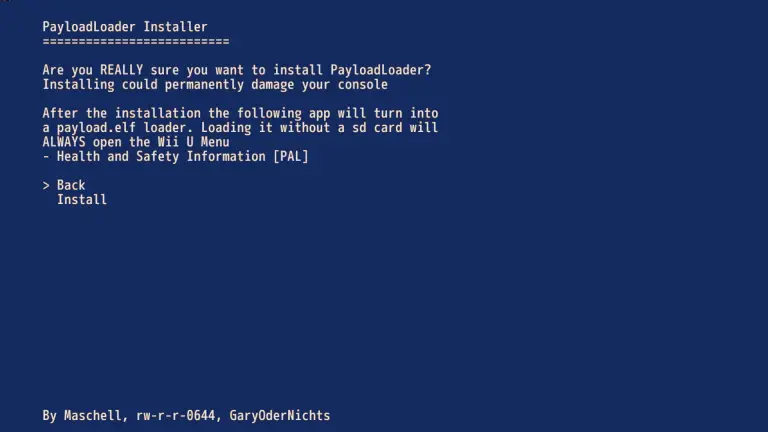
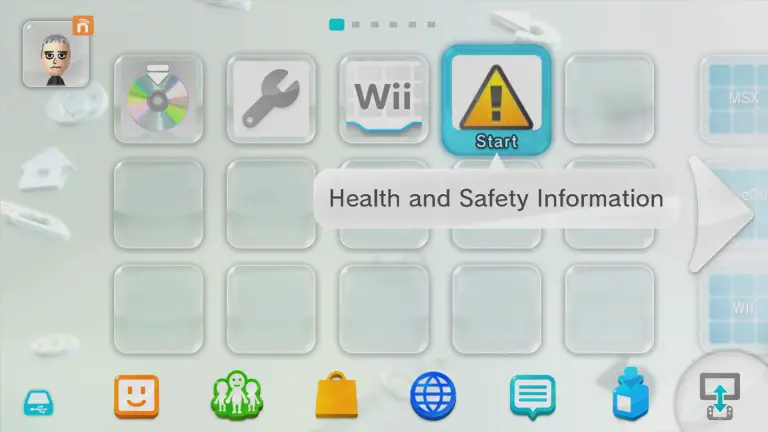
This will check that Tiramasu can be installed. Printing the A button again to enter 'Install / update', read the alert and so press down and then A to install Tiramasu to your Health and Safety Information app.
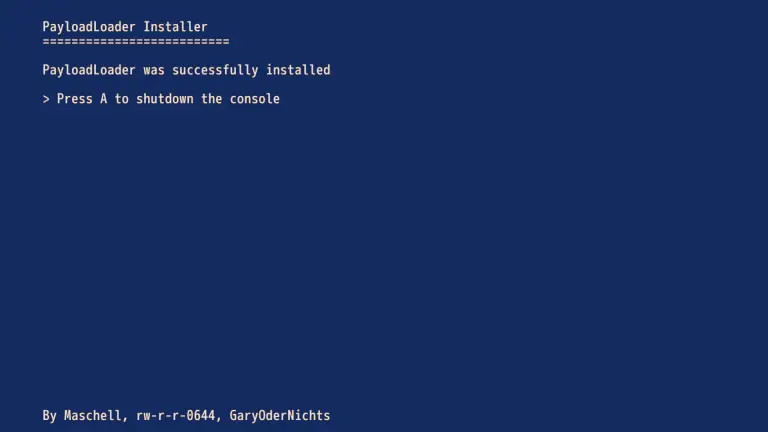
Press A to shut down your Wii U. Reboot your console and navigate to the Health and Prophylactic information app. Start the app while belongings the '10' button and we should load right dorsum into the Tiramasu surround loader.
How to Auto Launch Tiramasu on Your Wii U
Your Wii U is now successfully soft modded, however, y'all'll need to run the exploit each fourth dimension you lot ability off your console which tin be a fiddling annoying. Luckily, there's an easy way to become around this and make Tiramasu kicking at the same time the Wii U.
Launch the Health and Safety info app holding downward 'X' which volition bring you to the Tiramasu loader, from here select installer in one case again.
Press A to bank check the app again but this time select 'Boot options' instead of install.
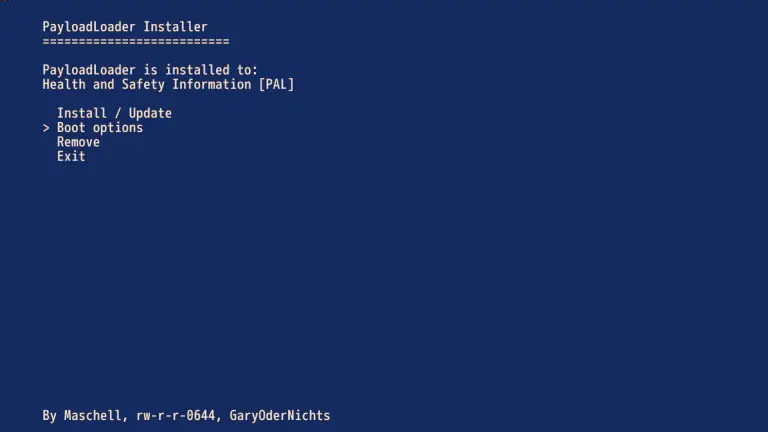
Restart your Wii U and it will automatically take you to the Tiramisu surround loader. Highlight 'tiramisu' and press 'Y'. This sets Tiramisu as the default kick option from your Wii U. Press A to enter the settings.
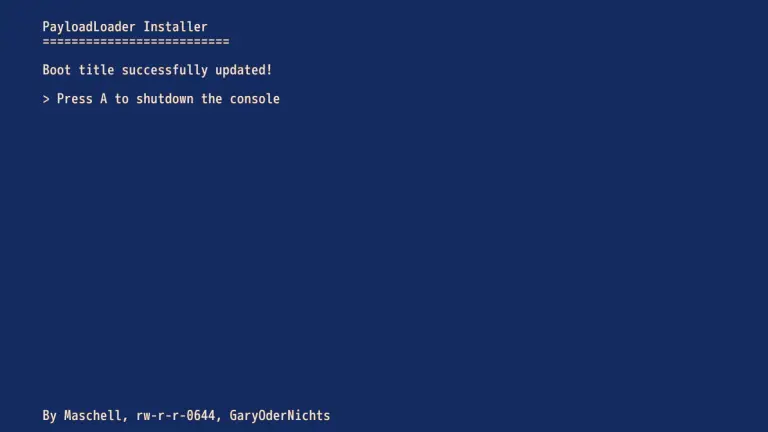
Press 'Y' on the Wii U Menu option and then press A to confirm.

This will now allow your Wii U to automatically boot Tiramisu alongside the Wii U standard carte and makes things a lot easier for us.
The Homebrew Channel
Now nosotros have Tiramisu running nosotros are going to want an easier style of running homebrew. The best mode to do his is to install the Homebrew Channel.
Currently, we tin access the homebrew launcher by launching the Mii Maker app. While this is user-friendly, I adopt to have the Homebrew Launcher as a split app. To do this, launch the Mii Maker app to enter the Homebrew launcher.

One time the Homebrew Launcher has loaded select WUP Installer GX. From here cull Homebrew Channel and install, make sure you lot install this to NAND when prompted. Once the Homebrew Channel has finished installing y'all can press 'Home' a few times to be returned to the Wii U main menu.
You lot take now successfully fully modded your Wii U with Tiramisu and can employ the Homebrew channel to launch any homebrew y'all like.


In the second part of this guide you can find here where I explain how to dump your Wii U games and run Wii U game backups. Nosotros also go into detail on how to mod your Virtual Wii allowing for even more than exciting stuff!
You can find part 2 hither!
*If y'all found this guide useful, please consider donating to help make more than guides*
Source: https://cheapergamer.co.uk/wii-u-hacking-guide/
0 Response to "What Happens if You Install Brain Age Again on a Haxchi System"
Post a Comment